From Sizing To Fit, Here’s How To Make Your Own Dog Clothes

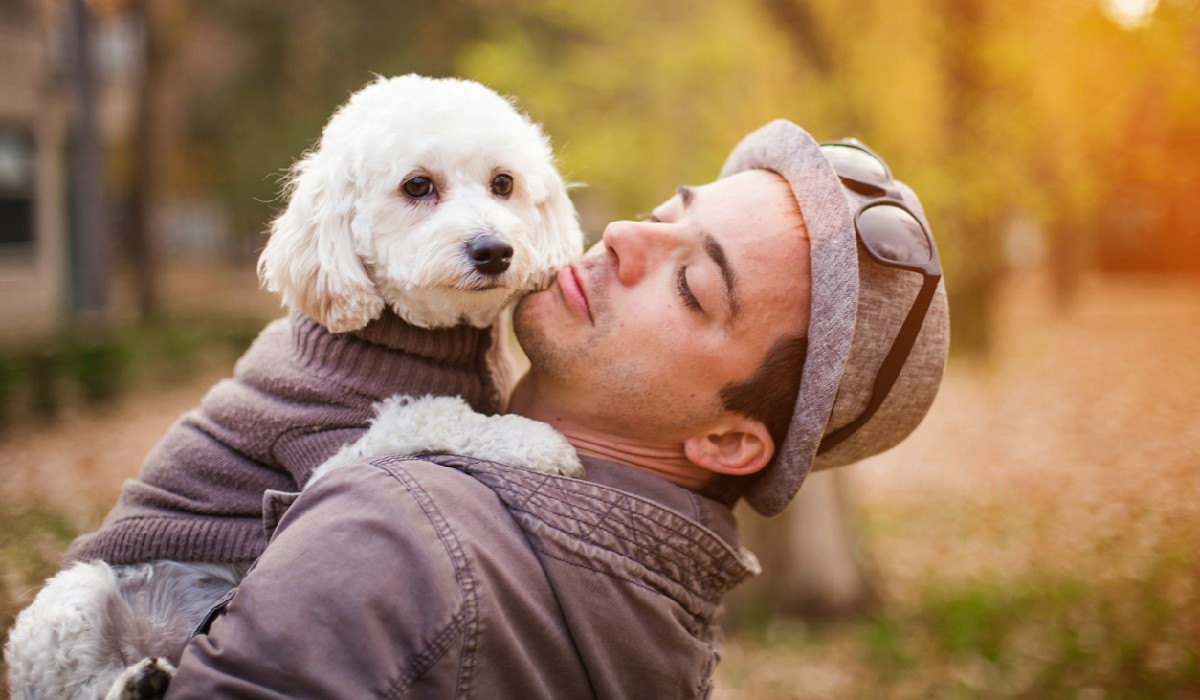
Do you have a pup that loves to show off its unique style? If you’ve been wanting to give them a wardrobe makeover, why not try making your own dog clothing? This process can be a fun, creative way to show off your pup’s personality, and you can be sure that the results will make them look more adorable than ever.
In this article, we’ll walk you through the steps of how to make dog clothes from scratch, including choosing the materials, getting the sizing right, and fitting everything correctly. We’ll also provide advice on choosing the appropriate fabrics for your pup’s clothing, so you can make sure that their fashion will also be comfortable and durable.
Measurement and Sizing
Before you begin, you’ll need to have a flexible measuring tape for calculating neck circumference, waist circumference, length, and chest circumference. You may also need a pair of scissors, a marking pen or tailor’s chalk, and a ruler.
When selecting size charts, there are many different brands with various sizing conventions. Generally speaking, most dog clothing sizes range from XXS-XXL. When selecting a size chart, think carefully about what size your dog would fit into in terms of length and chest circumference to find the right chart for your pup.
Selecting Fabric
When selecting fabric for your dog’s clothes, consider what material you want to use for the outer layer and the lining and batting. Natural fibers, such as cotton, wool, or hemp, are common choices for dog clothes due to their breathability. Synthetic materials may also work depending on your project needs. Decide on how thick or thin you would like the material depending on its intended purpose.
After deciding on a suitable fabric, pick colors and patterns that suit your aesthetic desires while remaining practical in terms of laundering needs. Some materials may require special care, while others may be machine-washable. Remember to read the care instructions before purchasing any material. Be aware that some materials may not do well when exposed to moisture or sunlight, so pick colors that hold up well in changing weather conditions.
Designing the Dog Clothes
Once you have your materials gathered and sized appropriately, it’s time to cut out the pieces for your pattern. Lay out all the fabric pieces in their designated order and cut them according to their measurements. Don’t forget to leave a seam allowance to make sewing easier later.
After cutting out all of your pieces, it’s time to assemble them with pins or stitch them together with a sewing machine. This is often done by starting at one end of each seam and working around until all pieces have been connected.
To finish off your creation, add buttons, bows, and other embellishments according to your pattern. These can be attached with hand-stitching techniques directly onto the piece itself or by utilizing additional fabric cutouts.
Testing the Fit
When you have finished constructing all parts of your design, it’s time to see if it fits. This is the time to model it with your pup. Make sure all sections lay flat over their body without tugging too tightly around areas like legs, arms, or underside. Loosen or tighten seams where necessary.
After checking over the adjustments, it’s time to finalize your custom dog clothes. Before wearing, consider pre-washing garments so any shrinkage can take place before being worn by your pup.
Conclusion
Making dog clothing from scratch can be a fun and rewarding experience. By following the steps above and selecting the right materials, your pup will be the most fashionable dog on the block. The key is to ensure that the clothing fits properly and is comfortable for your pup to wear. Measure carefully and select fabrics that are durable and suitable for their needs. With a bit of patience and creativity, you’ll be able to make your pup their own dog jacket or shirt that you can both be proud of.
